Let’s assume, for this tutorial, you really need a calculator that adds two numbers and shows the result.
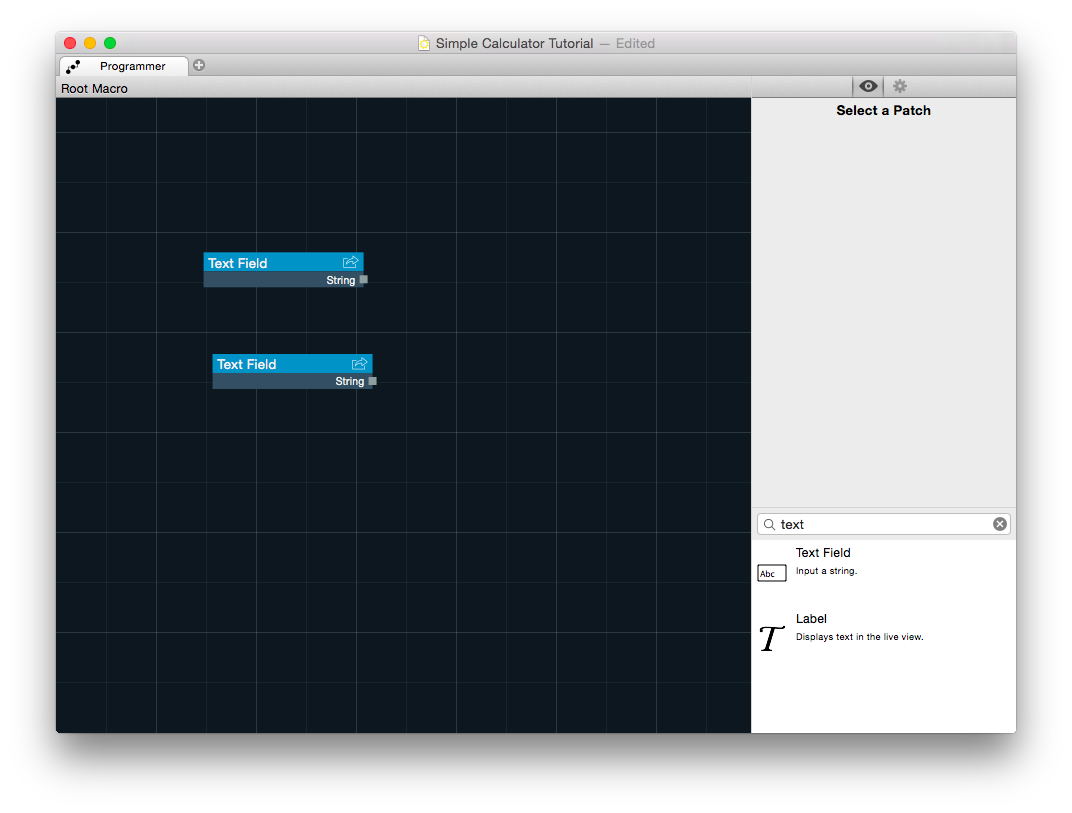
First, create a new Apricum Document and add two text fields to its programmer.
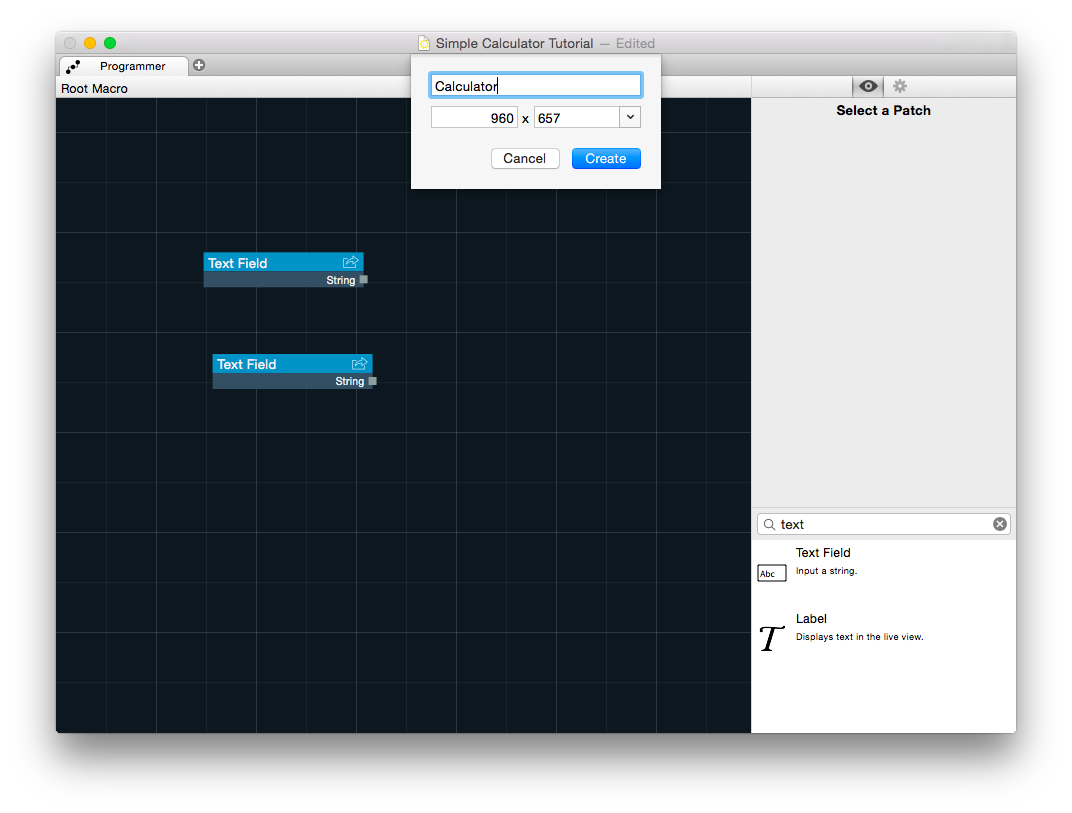
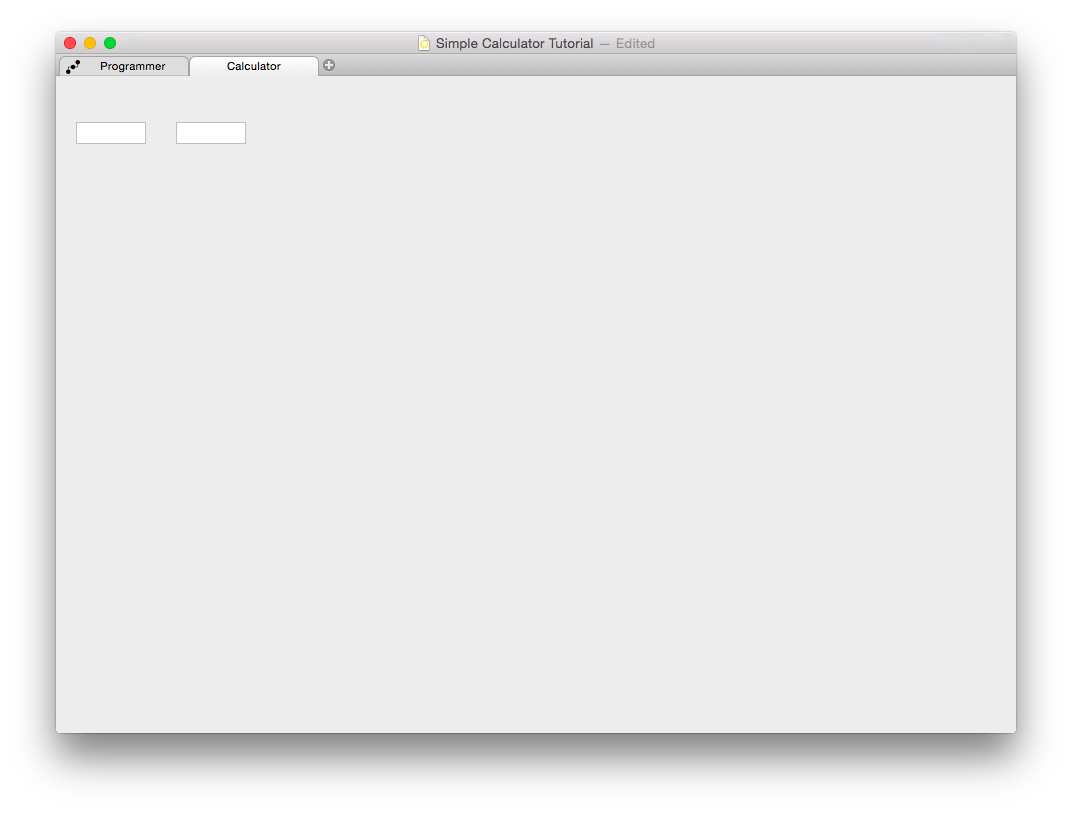
Create a new Live View (by using the small plus next to the programmer tab). Name and size are not important.
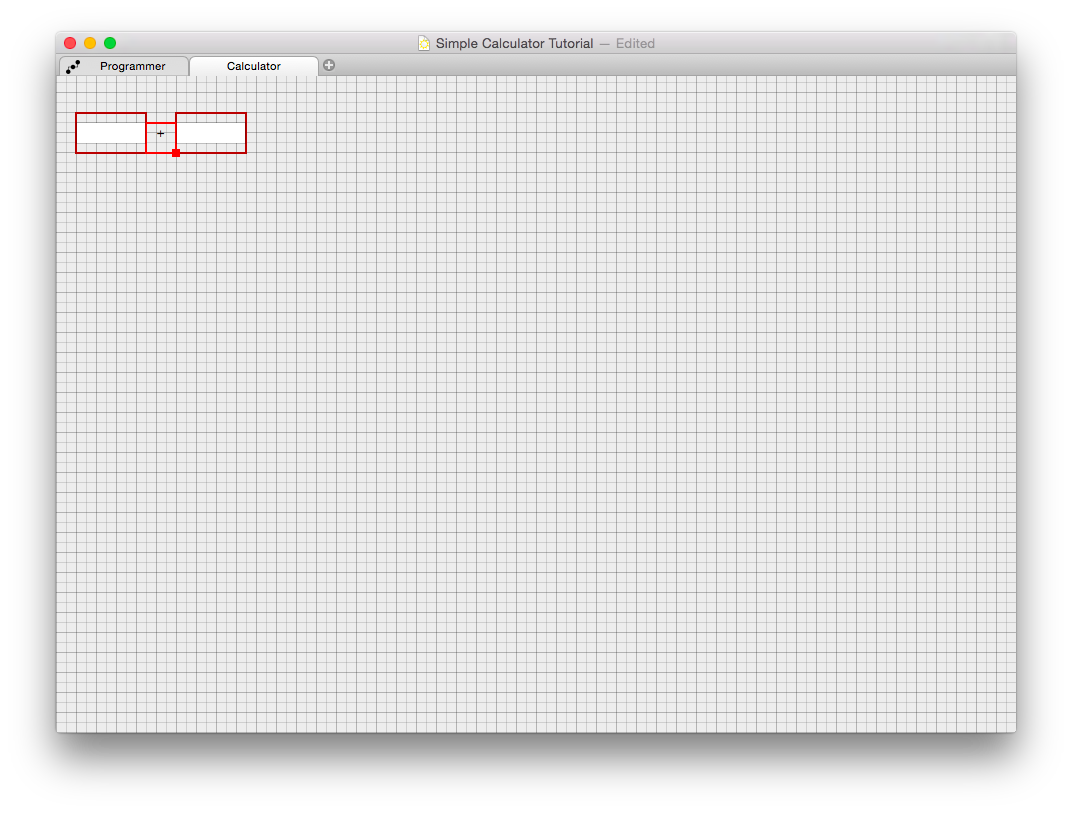
Drop both text fields into the live view like you’ve seen it in the first tutorial. You may arrange your components now, or wait until you’ve created all the needed views.
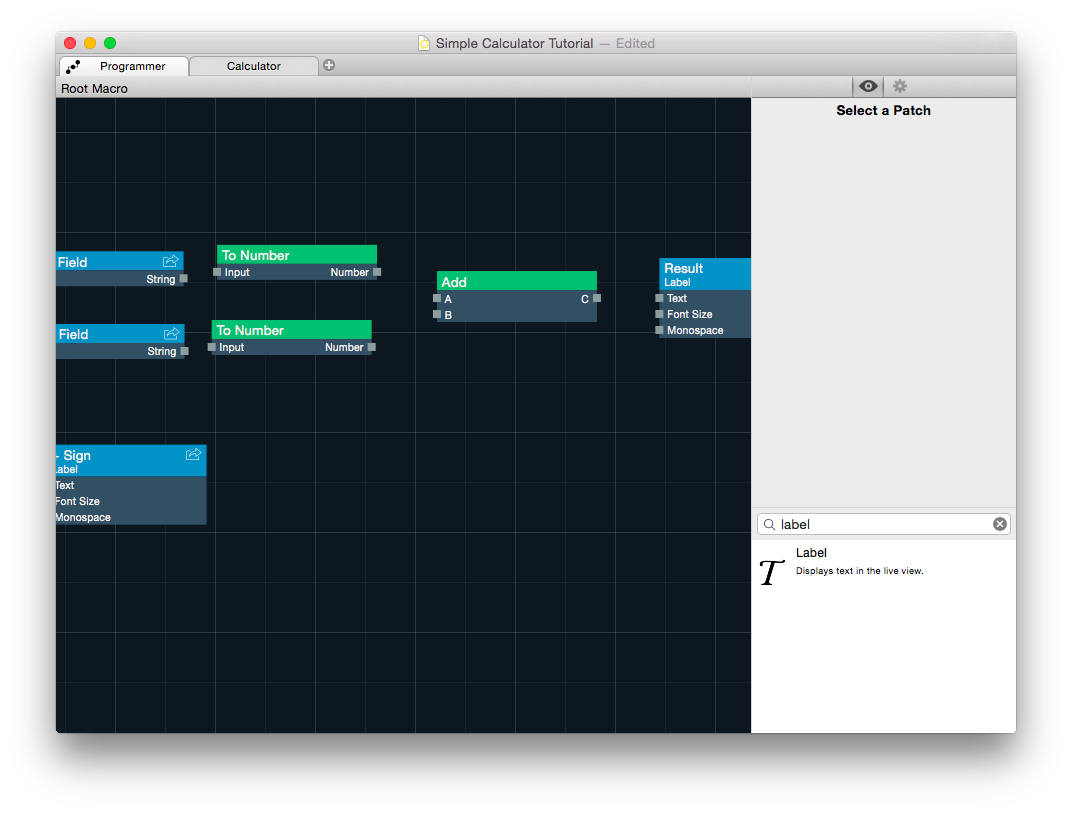
Add a new label to the programmer and set it’s text value to “+”.
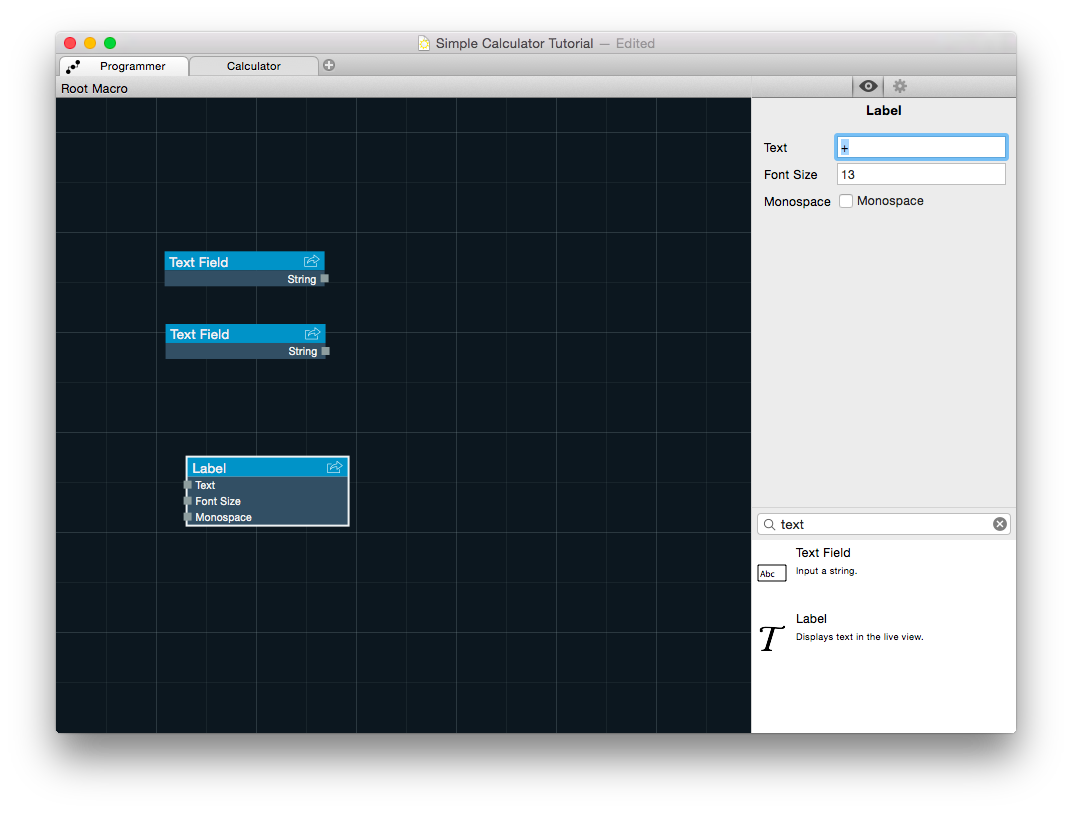
Drag the label to your live view. If you want you can already arrange the text fields and the label like this:
Rename the label patch. Right-click on the header of the patch (where it says label) and select “Rename…” from the drop-down menu. Renaming patches in such a small project may seem a little bit unnecessary, but it keeps your programmer clear.
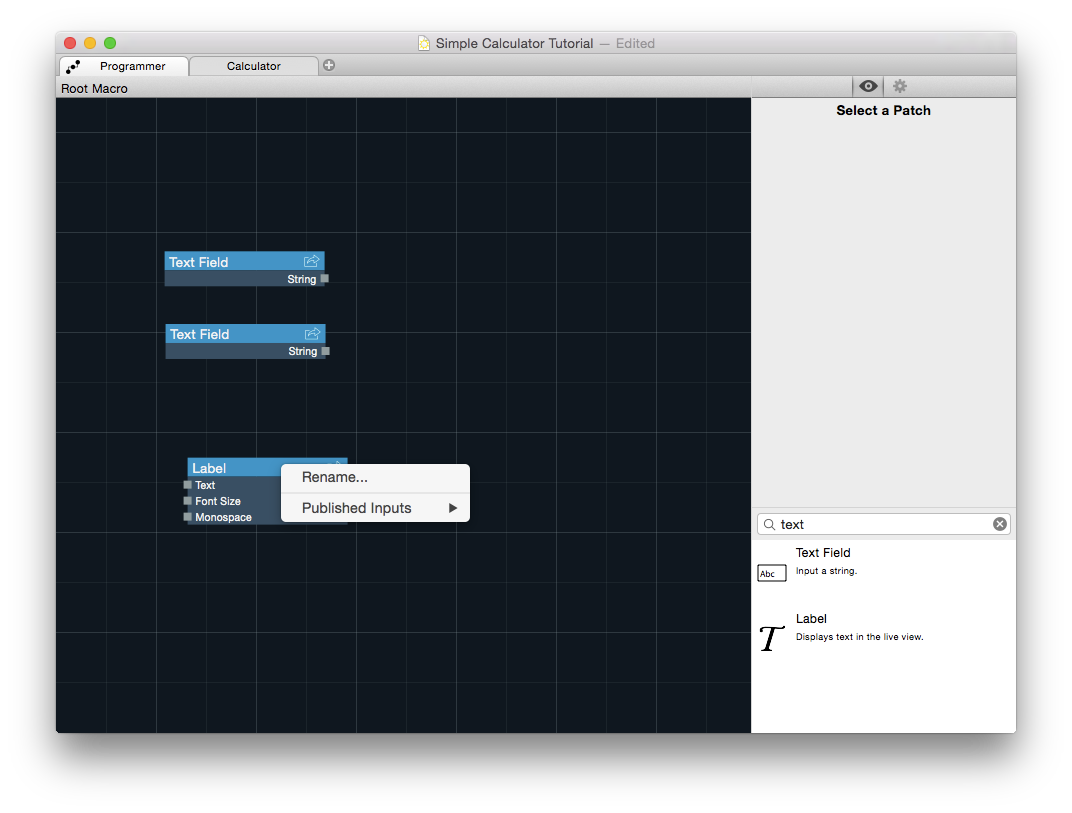
Enter a name like “+ Sign” and save.

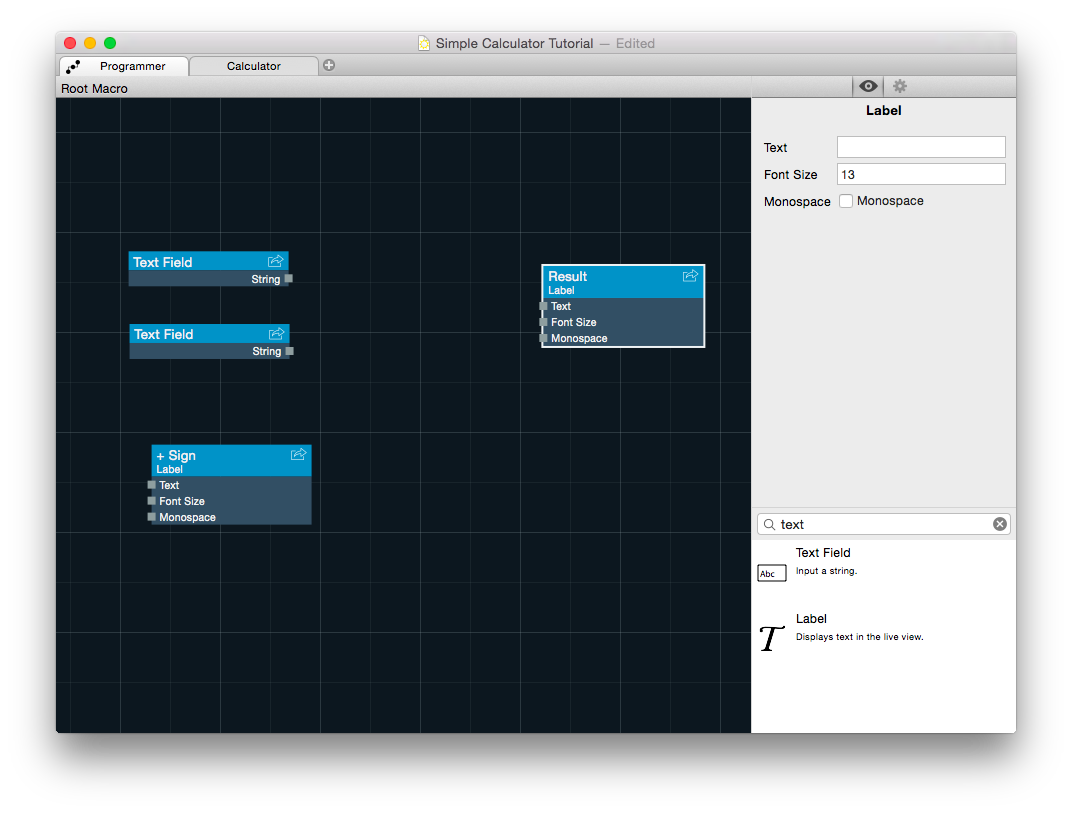
Add a second label, and rename it to “Result”.
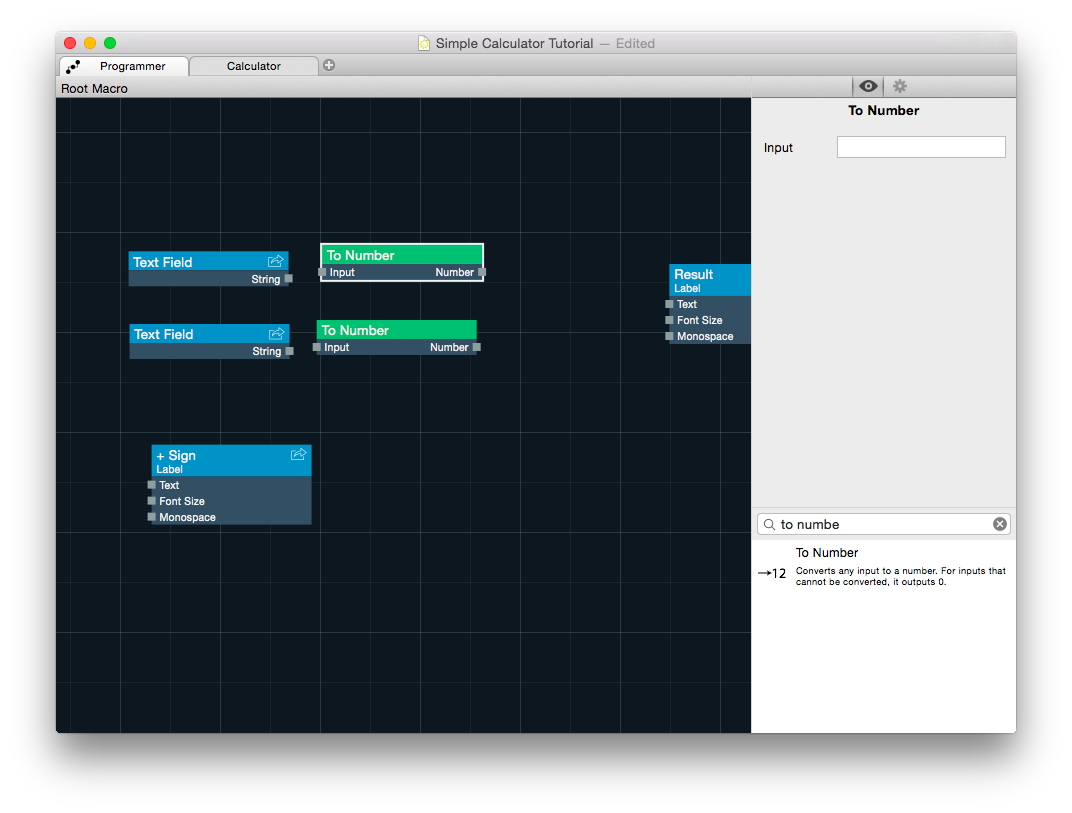
Add two “To Number” patches to your programmer.
Add an add patch to your programmer.
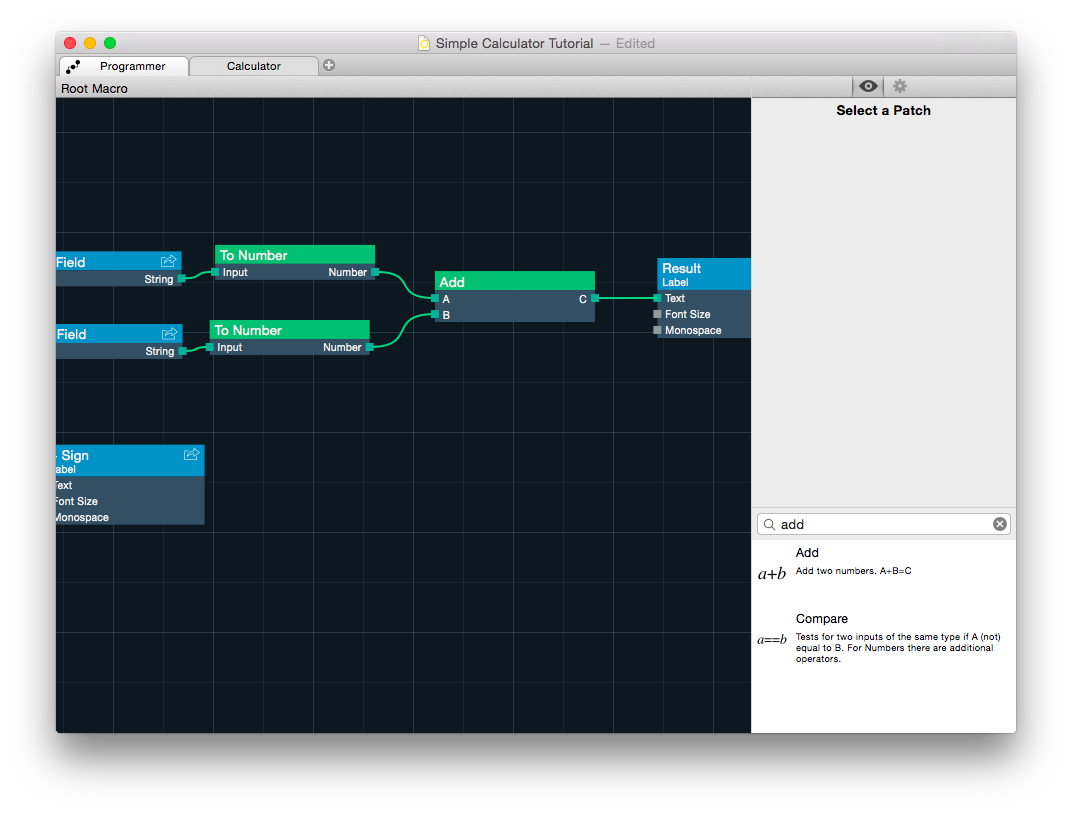
Connect your patches the same way as shown in the picture. Both text fields are connected to a to number patch. The to number patches are connected to the A and B inputs of the add patch. The C output of the add patch is connected to the Text input of the “Result”-Label patch.
Add a third label with “=” as text value and rename it to “= Sign”.

Rearrange your live view (using the edit mode using either the menu oder cmd-shift-e) to something like this. You may need to drag some of the views from the programmer to this view if you haven’t already done so.
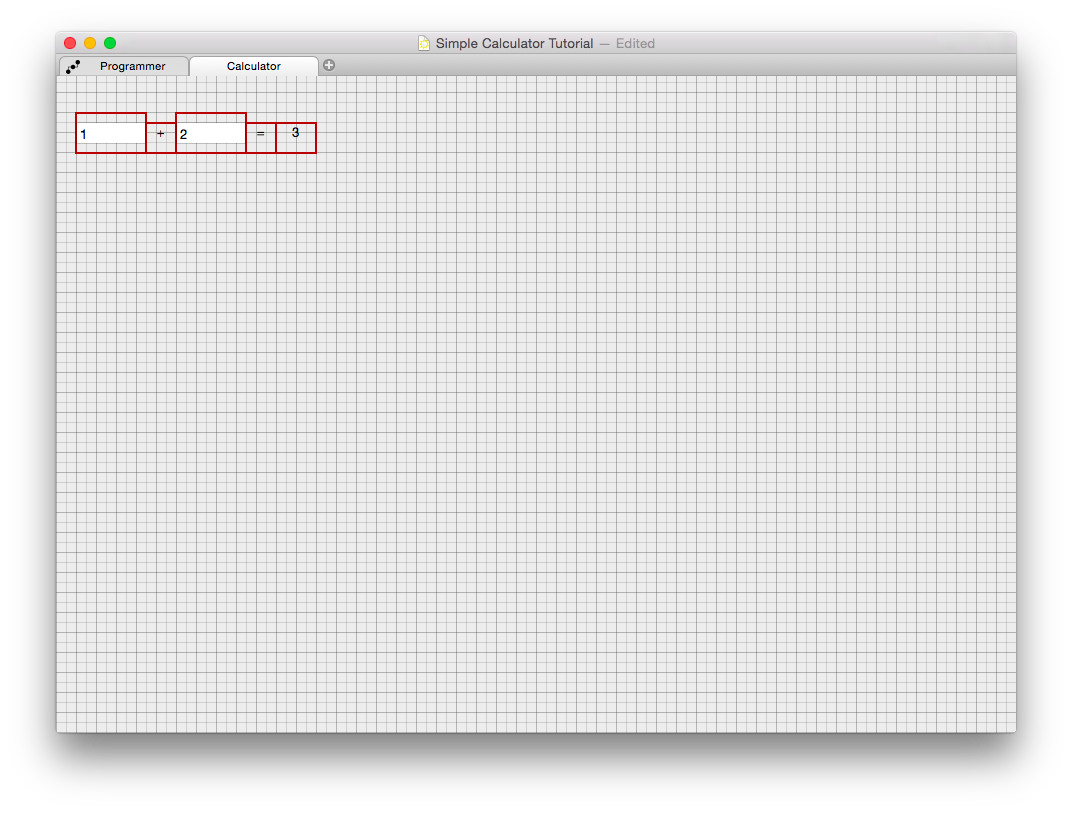
Enter numbers into the text fields
